DIY Plumbing: Simple Fixes and Projects for Every Homeowner
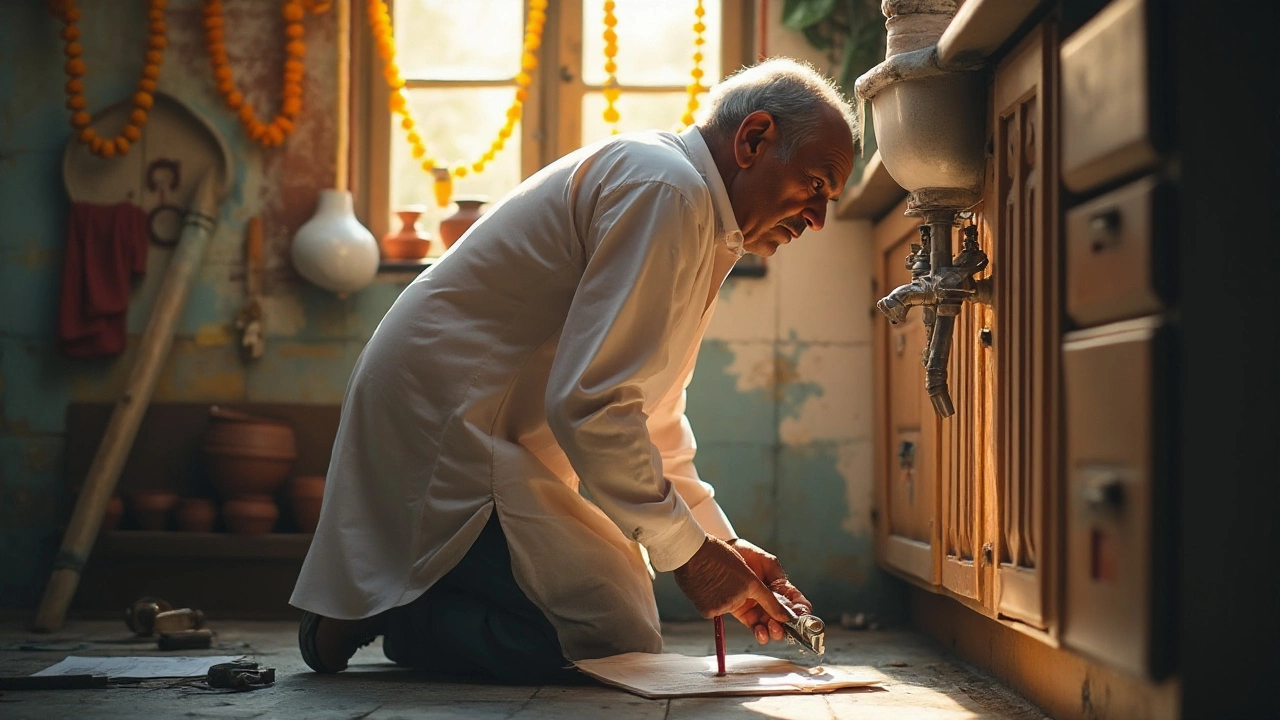
Got a leaky faucet or a stubborn drain? You don’t need to call a plumber for every little issue. With the right tools and a clear plan, most basic plumbing jobs are doable in a weekend. This guide walks you through the must‑know basics, from fixing a dripping tap to installing a new showerhead, so you can save money and feel confident tackling home repairs.
Essential Tools Every DIY Plumber Should Have
Before you start, stock a small toolbox with these items:
- Adjustable wrench – works on most nut sizes.
- Pipe cutter or hacksaw – cuts copper, PVC, and PEX.
- Plumber’s tape (Teflon) – seals threaded connections.
- Bucket and towels – catches water and keeps the floor dry.
- Slip‑joint pliers – perfect for tightening nuts on fixtures.
Having these on hand means you won’t run to the store mid‑job, keeping the project smooth and fast.
Quick Fixes You Can Do Today
1. Stop a Dripping Faucet – Most leaks come from a worn‑out washer. Shut off the water under the sink, remove the faucet handle, pull out the cartridge, and replace the rubber washer. Turn the water back on and the drip is gone.
2. Unclog a Sink Drain – Try a homemade solution: pour half a cup of baking soda down the drain, follow with half a cup of vinegar, wait five minutes, then flush with hot water. If that fails, a simple hand‑crank plumber’s snake will clear most blockages.
3. Fix a Running Toilet – Open the tank, check the flapper valve, and replace it if it’s warped. Also, adjust the chain so the flapper sits snugly over the flush opening. Most running toilets stop after this quick tweak.
4. Install a New Showerhead – Unscrew the old head with an adjustable wrench, wrap plumber’s tape around the pipe threads, and screw on the new showerhead by hand. Tighten a little more with the wrench, but don’t over‑tighten.
5. Replace a Broken Pipe Section – Cut out the damaged section with a pipe cutter, measure and cut a replacement piece, apply primer and cement (for PVC) or solder (for copper), then join the new piece. Turn the water back on to check for leaks.
These tasks take anywhere from 15 minutes to an hour, depending on your experience. Follow each step carefully, and you’ll avoid common mistakes like overtightening fittings or forgetting to shut off the water supply.
For more detailed walkthroughs, check out our articles on specific topics like “How Many Hours Do Plumbers Work,” “Plumber Training Course: What Course Pays the Most?” and “Do You Need a Plumbing License in California?” Each post dives deeper into the skills, training, and legal side of plumbing, helping you decide whether a hobby turns into a career.
Remember, safety comes first. Wear gloves, keep the area well‑ventilated, and never work on pipes that are under pressure. If you ever feel unsure, it’s okay to call a professional for a quick inspection.
DIY plumbing isn’t just about fixing leaks; it’s about understanding how water moves through your home and gaining the confidence to maintain it yourself. With these basics, you’ll tackle everyday problems faster, save on service calls, and maybe even discover a new hobby.
Ready to get started? Grab your wrench, pick a project from the list, and take the first step toward becoming your home’s go‑to plumber.
Master Plumbing Skills on Your Own: A Guide to DIY Plumbing Education
Posted by Kieran Sethi with 0 comment(s)
9
Jan
Exploring the possibility of becoming a self-taught plumber reveals a world of practical skills perfect for hands-on learners. This article delves into the foundations necessary for self-learning in plumbing, tools required for success, and effective methods to gain practical experience. It discusses the challenges and rewards of putting theory into practice, highlights essential areas of study, and provides useful tips for aspiring DIY plumbers. Ideal for those eager to learn and save money on professional plumbing services.
view more